3D Printed Press Dies Part 2
Introduction
With how successful my first experiments using 3D Printed Press Dies went, I was really interested in testing the limits of the 3D printer and trying to press form a much larger panel. In the first experiment, I didn't have a use for the finished piece, it was entirely for testing. This time around, I wanted to be ambitious and try to press form the heel plate for the Datsun. While the heel plate project might seem like such a small detail on the Datsun, especially when there's so much else to do, the personal significance of this project to me is huge. Despite my love for the craftsmanship of metalworking, I've never really been able to successfully make anything out of sheet metal. In today's project, I was able to leverage SendCutSend's laser cutting and bending services, combined with my 3D Printer, to make something unique and professional for the car. The viability for 3D Printing Sheet Metal press dies has a lot of promise for small volume production, and I'm excited to keep trying experiments with it.
Die Design
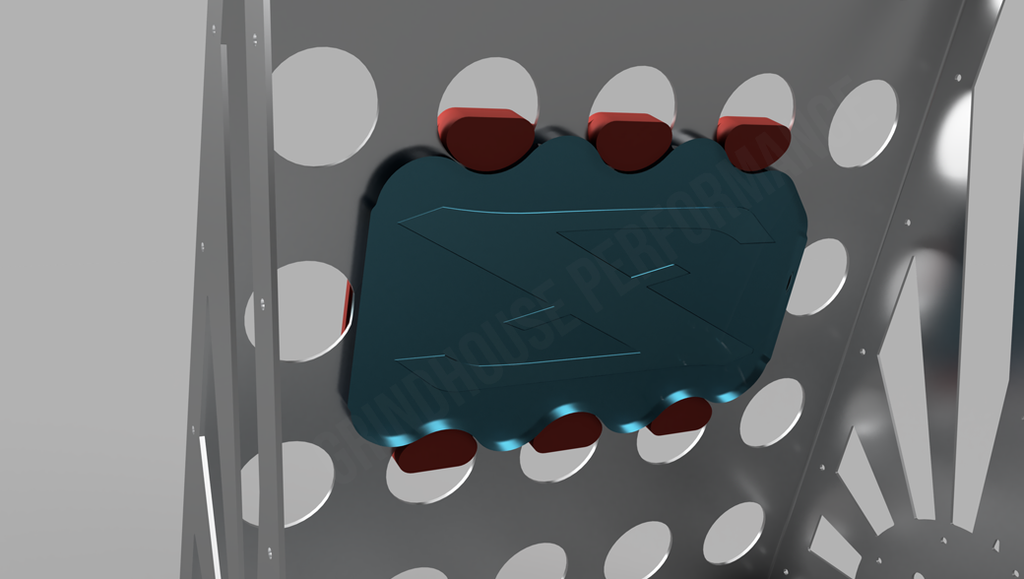
It's important for the top and bottom dies to stay aligned to one another so it presses evenly and cleanly. If there's any misalignment, the panel will most likely have to be scrapped, and the die would be much more likely to fail. (Note: they'll self-center a LITTLE bit, but don't count on that exclusively). For the dimple die, the dies would simply align using the holes themselves, much like any typical steel die available today. For the "Z" die, this gets a little more complicated. I didn't want any holes in the feature itself, since I don't trust myself to be able to fill those holes later on (still a novice for welding aluminum). I decided to maximize my printer's build volume and use the surrounding holes on the panel to center and locate the "Z" dies. It's important for the dies to lock into one another without binding, and to be able to locate one another while the panel is in its flat sheet form. This means the legs of the die need to extend pretty far, and will dictate the minimum thickness of the bottom die. You want the locating pins to be tall enough that the flat sheet (before it's pressed) still locks to the other die, and you need to be sure that there is enough compression room that those locating pins don't prevent the die from compressing all the way.
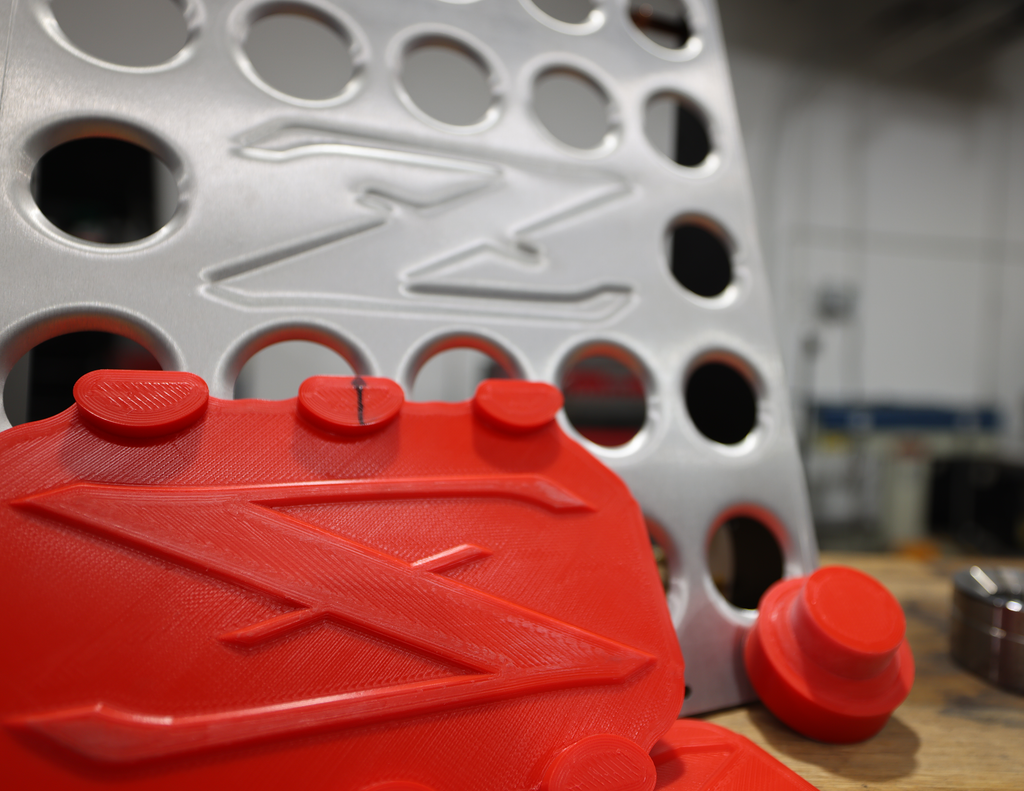
The resulting "Z" die looks a little goofy, and is specialized for this specific part. It wouldn't be able to work universally on other panels that don't have the dimple holes surrounding the embossing. Honestly that flexibility is one of the bonuses of printing the dies. If I had to go through the expense of having metal dies machined, it never would be cost effective to make something like this unless you plan on making and selling a LOT of panels. The last set of dies I sent to a machine shop for a quote was over $1800 per die. While I have a full set of metal dimple dies, I still benefitted from 3D printing a custom die that would fit the holes and avoid crushing the formed "Z" in the center.
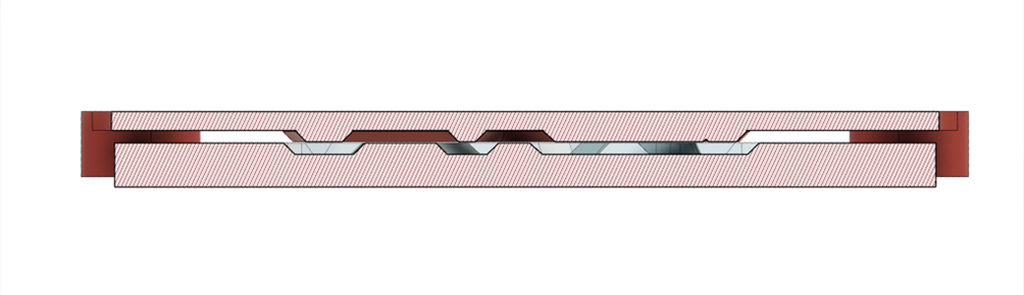
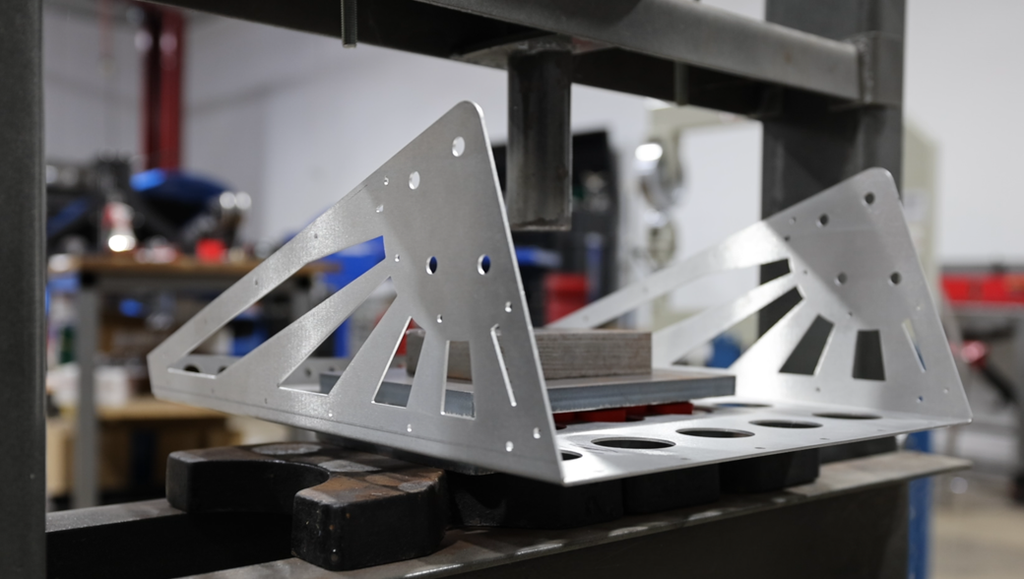
The panel itself was laser cut and bent from SendCutSend and it saved a ton of time versus trying to create a similar panel by hand. The main panel is made from 14ga (0.063" / 1.6mm) 5052 Aluminum, and I ended up adding dry carbon fiber side panels to give it a little extra style points. The fitment of the bends from SendCutSend were perfect and I couldn't be happier with how the panel arrived. Since I knew the thickness of the panel I was going to order, the "Z" dies were specifically designed to have a 1.6mm air gap when fully compressed to each other. I've included a cross section of the dies below to show how the metal always has somewhere to go. This is a critical step to keep the metal from binding up and creating a pressure point on the dies.
Print Settings
Similar to my initial experiment, I'm using Ultimaker Tough PLA as the filament for both the dimple and "Z" dies. Despite getting numerous recommendations for other filaments, I thought the Tough PLA had performed extremely well. I'm again using my Ultimaker S3 3D Printer, although any FDM printer able to print Tough PLA would probably work just the same. I did not use any kind of resin filler as these dies are much thinner than my initial test pieces, and since I've upgraded to a 0.8mm nozzle, they really didn't take that long to print, even at 100% infill. I used mostly the stock Cura settings for the dies, except bumping up the perimeter lines to 3mm wide, and printing at 100% infill. Nothing too special here, which makes this even more motivating to me! I did have some small over-extrusions on the top layer of the dies, which I knocked down with some sandpaper wrapped around a paint stick before bringing it over to the hydraulic press.
Results
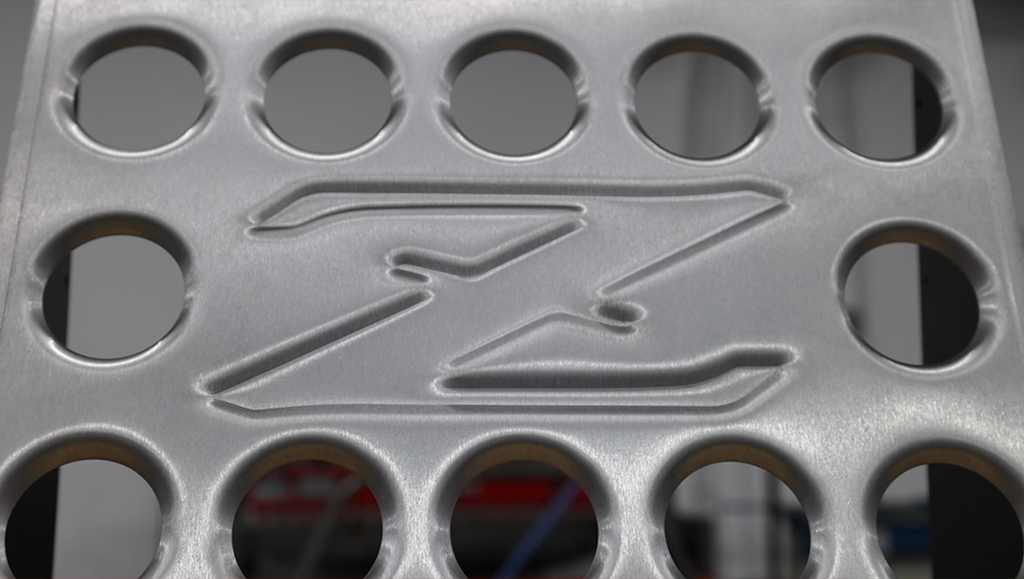
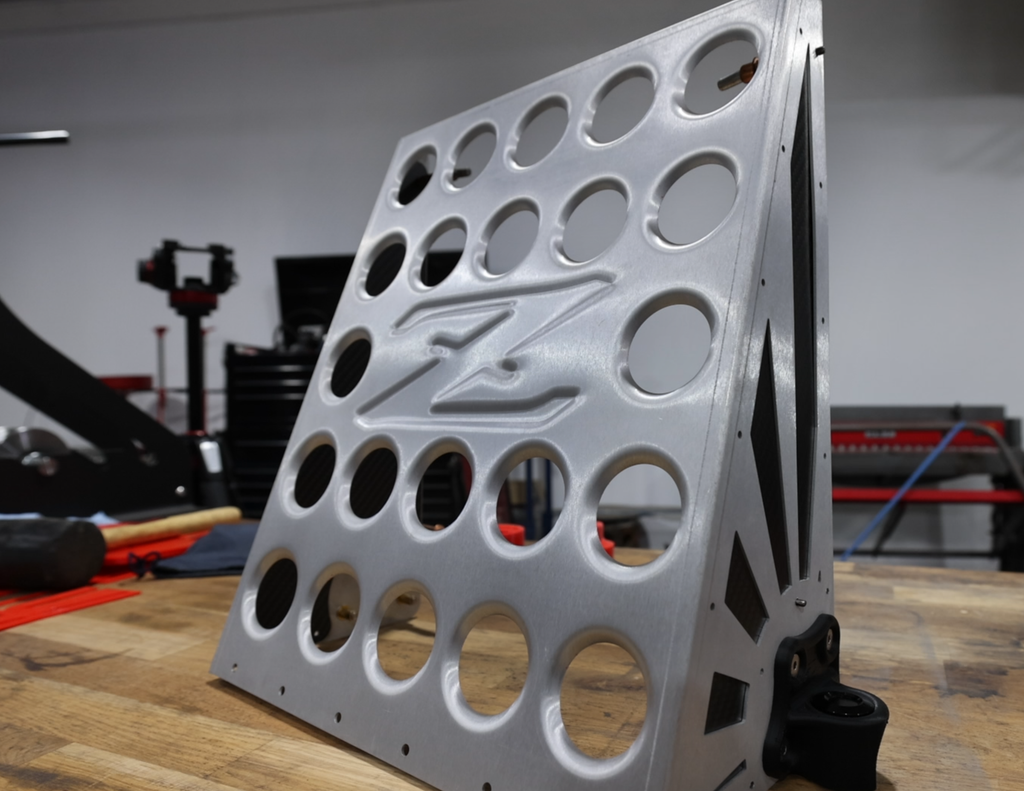
After pressing the "Z", there was a noticeable tin-can effect to the panel. I had done zero pre-shrinking work on the panel before the press, and the panel was fairly warped. I was definitely worried about the panel being unusable, but the "Z" itself looked great. By starting the dimples close to the "Z" embossment, I worked outwards, and by the time all the dimples were completed, it honestly eliminated 90-95% of the warp in the panel, able to be straightened out with very minimal pressure.
Overall, I'm really happy with the results. The sharp inside and outside corners lost a little bit of definition on the aluminum. I'm honestly not sure if this could be fixed with doing something differently with the die design, or if it's just generally a byproduct of needing more shrink in that area of the metal. I'm a beginner after all. The definition is really crisp and clean. Lightly sanding the high spots of the dies seemed to make a big difference, as there was a tiny mar on the "Z" from one of the high spots I had missed. The dimple dies survived all 22 holes in the part and still look brand new.
I'm excited to try even larger panels, or to come up with designs that can interlink several press forms in one. I'm excited to continue pushing the limits of 3D printed sheet metal forming in future projects and seeing what's possible. The panel turned out nicer than anything I could've made using traditional bead rolling. Between the crisp, perfectly bent corners and the clean metal forming, a part like this could easily be reproduced or sold in small production quantities, and for an amateur enthusiast like me, I couldn't be happier with the results.

Be sure to Subscribe to my YouTube channel for future updates on experimenting with 3D Printed press dies!


